

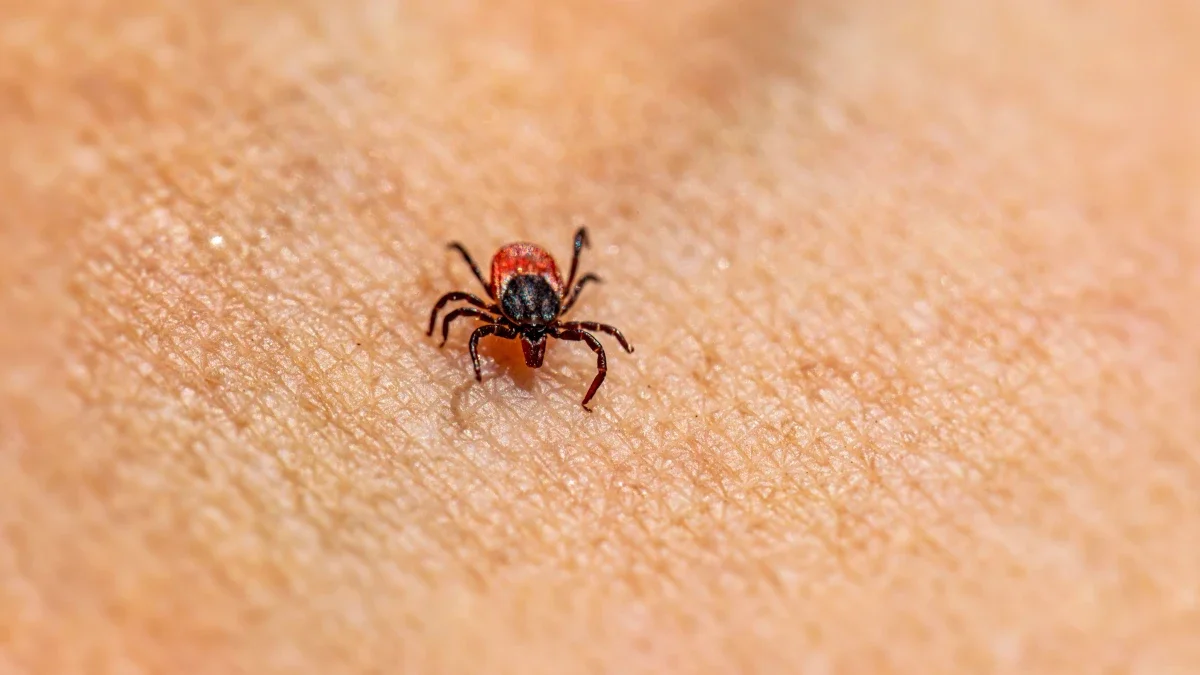
Every summer the same folk trick makes the rounds: smother the tick in petroleum jelly, or hold a hot match near it, and the thing will supposedly back out on its own. It sounds tidy. It is also the wrong move, and the CDC says so in plain language — those tricks can make a bad situation worse instead of better.
The honest version is less dramatic and takes about ten seconds. You grab the tick with tweezers, pull straight up, clean the spot, and get on with your day. What follows is the step-by-step exactly as public-health and university sources describe it, plus the reason each "clever" shortcut is one to skip. (This is general information, not medical advice — there is a note at the end about when a bite turns into a doctor visit.)
WHY: Speed matters more than technique
The single most useful thing to know is that time is working against you while a tick stays attached. Many tickborne germs are not delivered the instant a tick bites — they need hours of feeding to move from the tick into you. That is why the CDC's first instruction is not about tools at all. As the agency puts it, "Do not wait to go to a healthcare provider to remove the tick," because "Delaying tick removal to get help from a healthcare provider could increase your risk of getting a disease spread through tick bites" (CDC, What to Do After a Tick Bite).
Translation: the second you spot one, you remove it. You do not drive to urgent care with a tick still buried in your leg, and you do not spend twenty minutes hunting for a special gadget. A plain, decent pair of tweezers in the bathroom drawer will do the job right now.
WHAT: The only tool you really need

Skip the store display of "tick keys," twisters, and lassos if you do not already own one. The CDC is blunt about it: "There are several tick removal devices on the market, but a plain set of tweezers works very well." Fine-tipped (pointed) tweezers are ideal because the narrow tips let you grab right where the tick's mouthparts enter your skin, instead of squeezing its fat body.
No fine tweezers handy? You still have options. The CDC notes, "If fine-tipped tweezers are not available, use regular tweezers or your fingers to grasp the tick." If you must use fingers, cover them with a tissue or glove and grip as close to the skin as you can — the goal is always to avoid crushing the body, for reasons that become clear below.
HOW: Remove a tick, step by step
Here is the full sequence, drawn straight from the CDC's removal guidance:
- Step 1 — Grip low. "Grasp the tick as close to the skin's surface as possible using clean fine-tipped tweezers." Get under the body, right at the mouthparts. Do not pinch the swollen back end.
- Step 2 — Pull straight, pull steady. "Pull tick away from the skin with steady, even pressure. Don't twist or jerk the tick." A slow, firm upward lift — think of easing out a splinter, not yanking a weed.
- Step 3 — If a piece stays behind, relax. The CDC explains that twisting or jerking "can cause the tick mouthparts to break off and remain in the skin. If this happens, your body will naturally push the mouthparts out over time as your skin heals. You can also remove the mouthparts with tweezers. If you cannot remove the mouthparts easily with tweezers, leave them alone." Digging around does more harm than a leftover fleck.
- Step 4 — Clean up. "After removing the tick, thoroughly clean the bite area and your hands with soap and water, rubbing alcohol, or hand sanitizer."
- Step 5 — Check for friends. Where there is one tick there may be more. Do a careful head-to-toe check — behind the knees, waistband, hairline, armpits — and remove any others the same way.
University sources describe the identical motion. Penn State Extension tells readers to "Grasp the tick as close to the skin as possible with a pair of fine-tipped tweezers or forceps. Then gently, and slowly, pull straight up" (Penn State Extension, Fight the Bite). The University of California's IPM program adds the caution in one line: "Do not jerk or twist the tick as you extract it" (UC IPM, Lyme Disease in California).
WHY the folk remedies backfire

Now the myth-busting, because this is where good intentions cause real trouble. The petroleum jelly, the nail polish, the hot match, the "suffocate it first" routine — every one of them shares the same flaw. They irritate a living tick that is currently plugged into your bloodstream.
The CDC's warning is direct: "Do not use petroleum jelly, heat, nail polish, or other substances to try and make the tick detach from the skin. This may agitate the tick and force infected fluid from the tick into the skin." Penn State Extension spells out the mechanism a squeamish reader will remember: if you crush or provoke the tick, "the tick may actually regurgitate into your body, potentially increasing the risk of pathogens being transferred into you." A stressed tick can throw up its stomach contents into the very wound you are trying to clean out.
Penn State also names the usual suspects directly, listing "a lit match, cold, or other products or chemicals like nail polish remover and petroleum jelly" among the methods to avoid. UC IPM reaches the same verdict, advising against "alcohol, fingernail polish, heat from a lit match, or petroleum jelly," which it calls "ineffective and therefore ill-advised."
| The old trick | What people hope happens | What actually happens |
|---|---|---|
| Petroleum jelly / suffocation | Tick can't breathe and backs out | Tick stays put and gets agitated; can "force infected fluid" into the skin (CDC) |
| Hot match or heat | Tick recoils and lets go | Provokes the tick; may make it regurgitate into the wound (Penn State) |
| Nail polish / alcohol on the tick | Chemical drives it out | "Ineffective and therefore ill-advised" (UC IPM) |
| Twist or "unscrew" it | Threads the mouthparts loose | Snaps the mouthparts off in the skin (CDC) |
LIMIT: What to do with the tick — and why not to test it
Do not squash it between your fingers. The CDC lists clean ways to finish the job: "Dispose of the live tick by taking one of these steps: place it in a sealed container; wrap it tightly in tape; flush it down the toilet; or put it in alcohol. Do not crush the tick with your fingers."
Here is a nuance the folk advice usually gets wrong in the other direction. It is genuinely useful to snap a clear phone photo of the tick before you dispose of it, and to jot down the date and roughly where you picked it up — that helps a doctor later if symptoms show up. But paying a commercial lab to test the tick is a different thing, and the CDC does not recommend it. The agency's reasoning is worth quoting because it is easy to misjudge: a positive result "do not necessarily mean that you have been infected," a negative result "can lead to false assurance," and if you were infected, "you will probably develop symptoms before results of the tick test are available." In other words, the tick's lab report will not tell you what your own body will. Watching yourself is the reliable signal, not mailing off the bug.
YMYL: When a tick bite becomes a doctor visit

Most tick bites come to nothing. But the window that matters is the following few weeks, not the day of the bite. The CDC's follow-up rule is short: "If you develop a rash or fever within several weeks of removing a tick, see your doctor." When you go, the CDC says to tell the doctor about the recent bite, when it happened, and where you most likely picked up the tick.
The rash to know is called erythema migrans — often a slowly expanding reddish patch, sometimes with a clearer center that gives it a "bull's-eye" look. UC IPM notes this "slowly expanding reddish rash known as 'erythema migrans'" can appear "3 to 32 days after the bite," frequently alongside "fatigue, headache, fever, chills, and other flulike symptoms." Its guidance: "Consult a physician promptly if you or a family member experiences a flu-like illness or a rash after having been in areas where ticks may be found." A summer flu with no cough, a few weeks after a hike, is exactly the pattern worth mentioning to a clinician.
One honest caveat: not everyone gets the classic rash, and not every tickborne illness looks like Lyme disease. That is precisely why the advice is to watch and report symptoms rather than to self-diagnose from a chart. This article is general information, not medical advice — a licensed clinician is the right person to judge your specific bite, and you should call one if anything feels off.
The bottom line
The correct way to remove a tick is almost boringly simple: fine-tipped tweezers, grip right against the skin, pull straight up with steady pressure, clean the bite, wash your hands. No twisting, no matches, no petroleum jelly — every one of those "helps" risks pushing infected fluid into you, which is the whole thing you are trying to avoid. Save a photo, note the date, and keep an eye on the spot and on how you feel for the next several weeks. If a rash or fever shows up, tell a doctor about the bite.
And if you would rather not run this drill at all, the surest move is fewer ticks around your house in the first place — our guide to killing ticks in your yard covers the practical steps, as part of our broader DIY pest control guide.






0comments