

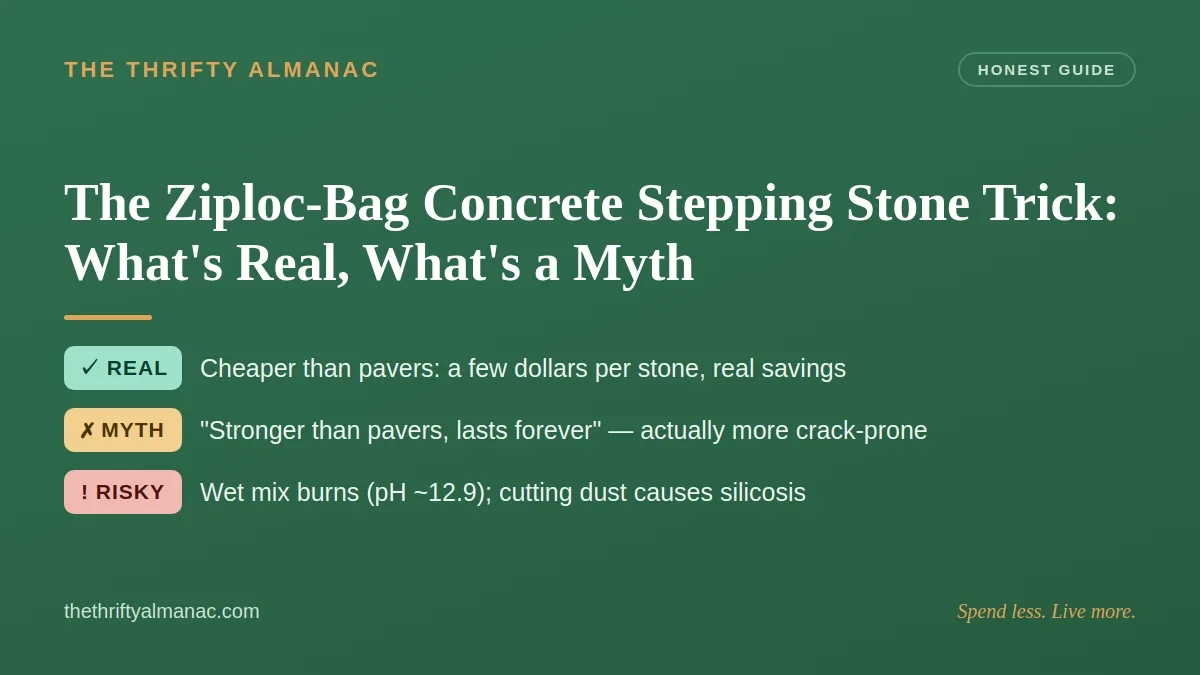
You've seen the video: dump a bag of concrete mix into a gallon zip bag, peel off the plastic a day later, and you've got a stepping stone that looks like cut stone for a fraction of the price — a whole garden path for the cost of a coffee run.
Here's the honest version. The core promise is real: bag-and-mold casting works and genuinely beats store-bought pavers on price. But the trick travels wrapped in two stubborn myths and hides two safety hazards the short-form videos never mention. This is documentation of what the cement makers and safety agencies publish, sorted the way we sort everything here: what's REAL, what's a MYTH, and what's DANGEROUS.
The viral trick, decoded
The method is simple, which explains the popularity. You mix bagged concrete with water, pour it into gallon zip bags or cheap dollar-store trays, tap out the air, and let it set. A day later you pop out flat, roughly stone-shaped slabs and lay them across soil, mulch, or grass, where they can genuinely resemble natural flagstone.
What the clips leave out is everything that separates a path still level after two winters from one cracked and rocking by spring: base prep, thickness, curing, and a pair of chemical hazards nobody warns you about. The same honest-accounting logic drives our look at the cheap fixes that replace a pricey pro call-out — cheap is real, but only when you skip the right corners.
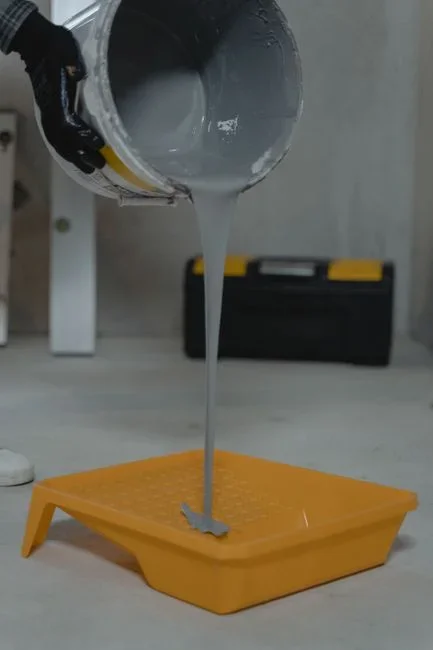
REAL: you can cast a cheap, decent path — here's the honest cost
The payoff is genuine. Bagged concrete mix — cement, sand, and gravel — reaches an average compressive strength of about 4,000 psi once cured, plenty for a walkway that only sees footsteps.
Now the cost, and retail prices move, so treat these as estimates. A 60-lb bag yields roughly 0.45 cubic feet — about 2.7 square feet at 2 inches thick — and runs around $6 to $8. Do the division: an 8-inch round stone at 2 inches thick costs well under a dollar in material, and a full 1-square-foot slab costs a few dollars. That beats a store-bought concrete stepping stone, which typically runs several dollars each.
So "cheaper than pavers" is true. "For pennies" is the exaggeration — that applies only to the thinnest, smallest stones, which are also the most fragile. Spend the extra fifty cents on thickness.
MYTH: "Stronger than store pavers and lasts forever"
This is the most damaging false belief, because it pushes people to use flimsy stones where they'll fail. Hand-mixed, unreinforced concrete cast in a bag is generally more crack-prone than a manufactured paver, not less. Factory pavers use tightly controlled mixes, are machine-compacted and vibrated to squeeze out voids, and are often air-entrained — dosed with tiny air bubbles that give freezing water room to expand.
That last part matters most. Water seeps into concrete's pores, and when it freezes it expands by roughly 9 percent, prying the material apart from inside. The University of Illinois puts it plainly: the water in the pores expands on freezing and the internal stress can lead to cracking. Repeat that every cold night through a winter and a thin, unreinforced slab goes from surface flaking to crumbling — and it lacks the entrained air voids that let commercial pavers absorb the stress.
Add a point load — a shovel edge, a chair leg, a boot heel on an unsupported spot — and a thin unreinforced stone snaps like a cracker. No source assigns these stones a lifespan in years, and neither will we; the documented failure mode is thin plus unreinforced plus freeze-thaw equals cracks. Concrete moves and splits over time, the same reason old masons obsessed over the water-glass trick for sealing concrete cracks long before anyone filmed it.
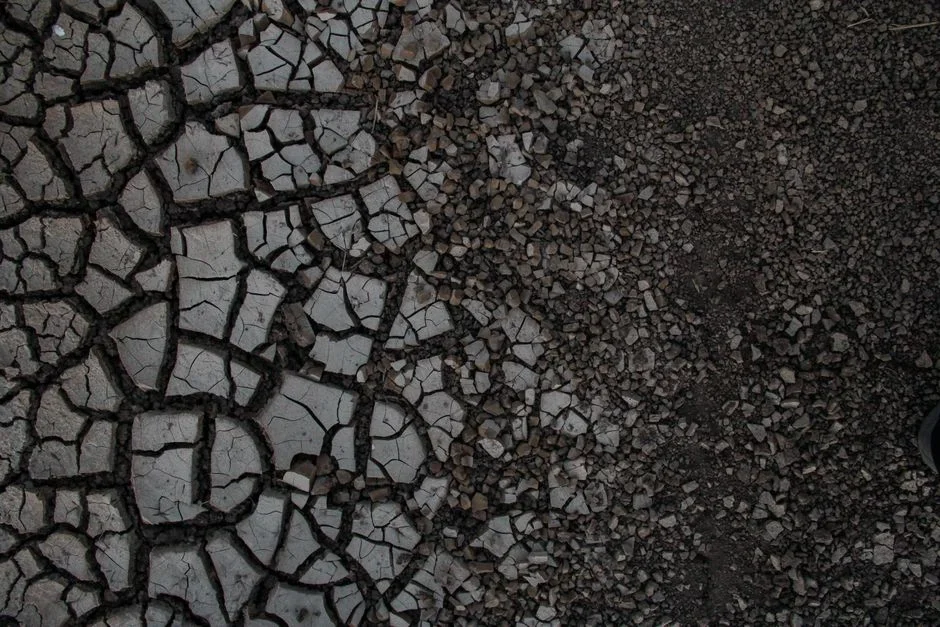
MYTH: "Just lay them on the dirt"
The videos love this shortcut — set stone on grass, step back, done. It's also the single biggest reason paths fail. A stone on bare soil has nothing holding it flat: it sinks unevenly as the ground compresses, rocks underfoot, and — in any freezing climate — heaves upward as the wet ground swells. A path that started level becomes a row of tilted, wobbling trip hazards.
The fix is the step nobody shows. QUIKRETE's own walkway guidance starts by telling you to level the ground and remove the sod or soil first. On top of that, standard hardscaping practice is a compacted, well-draining gravel base — commonly 4 to 6 inches deep — under a thin layer of leveling sand. The gravel drains freezing water instead of letting it collect and lift your stones; the sand lets you seat each one level. Those base depths come from the landscaping trade, not a lab, but the frost-heave physics is the same freeze-thaw expansion the university sources describe. The base isn't optional — it's the whole reason the path lasts, the same "prep is the project" rule that lets a fence you seal and set right outlast one slapped straight into the ground by decades. If an old tree stump sits where the path should go, clear it first — you can rot a stump out without renting equipment rather than paving around it.
DANGEROUS: wet concrete burns your skin and eyes
Here's the hazard casual DIYers walk right into. Wet cement isn't just messy — it's a caustic chemical. When water hits cement it forms calcium hydroxide, pushing the mix to a pH as high as 12.9, far above skin's naturally mild, slightly acidic surface — strong enough to cause third-degree alkali burns after roughly two hours of contact.
The cruel part is the delay. Cement burns have an insidious, often painless onset — the mix can sit on your skin, quietly deepening the burn, before you feel anything. People who kneel in wet mix or scoop it bare-handed often don't realize they've been chemically burned until hours later. OSHA is direct: workers can suffer cement burns and skin inflammation from wet cement, and prevention is proper gloves, boots, and other gear plus prompt skin care.
So gear up like it's a chemical, because it is. Wear waterproof gloves, eye protection, and long sleeves, and never kneel or sit in wet mix. Rinse any skin contact off immediately with plenty of water, and if mix gets in your eyes, flush and seek medical care — this is a call-poison-control situation, not a wipe-it-off one.

DANGEROUS: the dust from dry mix and cutting
The second hazard is invisible and gets even less airtime. Dry concrete mix is full of crystalline silica, and so is a cured stone. Dumping and stirring the dry powder throws it into the air, and cutting or grinding a hardened stone to fit sends up a fine cloud. OSHA is blunt about what that cloud does: respirable crystalline silica is created when you cut, saw, grind, and drill concrete, and inhaling it causes silicosis — an incurable lung disease that can lead to disability and death — as well as lung cancer.
These particles are at least 100 times smaller than ordinary sand, small enough to lodge permanently deep in your lungs. CDC/NIOSH estimates about 2.3 million U.S. workers are exposed to it, and the disease it causes is progressive and irreversible.
Now the honest calibration: OSHA regulates repeated, all-day occupational exposure — its workplace limit is 50 micrograms per cubic meter over an 8-hour shift, and a homeowner mixing one bag on a weekend is nowhere near it. So this is sensible precaution, not panic: mix outdoors, wear an N95 or better when handling dry powder or cutting stones, cut wet to knock the dust down, and never dry-sweep the residue — wipe it up damp.
The method that actually holds up
Fold the honest parts together and you get a recipe worth the weekend:
- Plan for thickness. Aim for about 2 inches — thin stones snap and spall, so a bigger mold beats a flimsy one.
- Prep the base. Remove sod, lay and compact 4 to 6 inches of gravel, then a thin leveling sand layer. This is the durability step.
- Gear up before mixing. Gloves, eye protection, long sleeves, and a mask for the dry pour.
- Mix to the label's water ratio — too much water weakens the stone — and fill your molds, tapping out air pockets.
- Cure, don't rush. Keep the surface damp for a minimum of 3 to 5 days with a fine mist, or seal with an acrylic cure-and-seal. Full strength takes weeks, so don't load fresh stones.
- Seat each stone level on the sand. In freeze-thaw country, sealing helps shed water — though on a thin unreinforced stone it reduces the risk, it doesn't eliminate it.
The honest tier-list
| Verdict | The claim | Reality |
|---|---|---|
| REAL | Cheaper than store pavers, decent-looking garden path | A few dollars per big stone, under a dollar for small ones (material only) |
| REAL | Good for light-foot-traffic garden routes | True with a proper base and ~2-inch thickness |
| MYTH | "Stronger than pavers, lasts forever" | False — unreinforced and more freeze-thaw and crack prone than factory pavers |
| MYTH | "Lay them straight on the dirt" | False — no base means sinking, rocking, and frost heave |
| DANGEROUS | Wet mix is just messy | Caustic pH ~12.9 — delayed chemical burns; needs gloves and eye protection |
| DANGEROUS | Dust is harmless | Respirable silica causes incurable silicosis — mask up, cut wet |
Common mistakes
- Skipping the base. The number-one path killer — bare soil guarantees wobble and heave.
- Casting too thin. A gallon bag yields stones under the 2-inch mark durability wants.
- Handling wet mix bare-handed. Caustic burns are delayed — you won't feel them happen.
- Cutting or mixing without a mask. Invisible silica dust, permanent lung damage.
- Walking on them too soon, or driving on them. Concrete needs weeks for full strength; this is a garden hack, not a driveway.
FAQ
Are homemade concrete stepping stones actually cheaper than buying pavers?
Yes, on material. A bag running about $6 to $8 makes several stones, so you're at a few dollars per large stone and under a dollar for small ones — cheaper than most store pavers, though not the literal pennies the videos promise.
Will they crack in winter?
Thin, unreinforced stones set without a draining base are vulnerable to freeze-thaw, where water in the concrete expands about 9 percent each freeze and cracks it from within. A compacted gravel base, adequate thickness, and sealing all reduce the risk in cold climates.
Do I really need gloves and a mask for one small project?
For the burns, yes — wet cement's high pH can cause serious skin damage you won't feel until later. For the dust, a homeowner's occasional single-bag exposure is far below the occupational risk OSHA regulates, but a mask while pouring dry mix and cutting stones is cheap, sensible insurance.
Can I put these on a slope or where cars drive?
No cars — these are light-duty garden and walkway stones, not load-bearing surfaces. On a slope, invest even more in the compacted base so they don't slide or tip.
The takeaway: The bag trick is a genuinely cheap way to build a light-duty garden path — just give it a real base, real thickness, gloves, and a mask, and skip the "indestructible" fantasy. Spend less. Live more. — The Thrifty Almanac






0comments